2012-10-08 We’re still using this for navigation – it’s been over 5 years.
This one has been the most reliable portable gps I’ve had. It’s been a few years now, I always use it every time I go somewhere I’m not familiar with.
My Garmin ique3600 was stolen in Park n Fly SFO, paid $500.00 in 2004 and they paid $235 after the depreciation. I was happy with my Ique3600, but it’s discontinued and I have to look for a new portable GPS for my cars. After reading reviews about most of the gps systems in the range of $200.00-500.00, I found MIO C520. My goal was to get one with everything.
-GPS navigation with TTS (text to speech): I’m bad with directions.
-WIDESCREEN 4″ or bigger with split screen option.
-External GPS antenna connector: in case you have double glass option in your car like Audi A8.
-Bluetooth: Hand free phone & wireless whatever.
-MP3: listening to music while driving or sitting on the train because CD player in the car is being obsoleted and I’m not hip enough to have an Ipod
-Video: To show off my children videos or compressed movies.
-Pictures: To show off my children pictures.
-Games: To play while listening to music and wait for my wife shopping.
-Wifi: Connect to free internet where available.
-The IPAQ5915 seems to have everything except it doesn’t support hand free phone & wireless headphones (I had to read the forum to find this out).
//www.pcmag.com/article2/0,1895,2021389,00.asp
-The Garmin nuvi 360 & 660 has great navigation but expensive.
//www.pcmag.com/article2/0,1759,1996813,00.asp
//www.gpsmagazine.com/2006/10/garmin_nuvi_660_indepth_review.php?page=11
-Tomtom XL ONE, Maestro 3140, 4040
//www.gpsmagazine.com/2007/06/magellan_maestro_3140_in-depth_review.php
//www.gpsmagazine.com/2007/04/review_magellan_maestro_4040.php
And many others but none of them would have everything that works well with all the features with the price like my C520.
//www.pcmag.com/article2/0,1895,2142071,00.asp
//review.zdnet.com/navigation/mio-c520-navigation-receiver/4505-3430_16-32461192.html
This is my own review as a user who’s been using it extensively for almost a year.
THE BOX
-Cost $299.00@Fry’s elctronic +$19.99 for 3 years full replacement warranty in August 2007.
-C520 4.3 screen WIDE.
-USB home & car chargers.
-Windshield mount, sturdy but seem to break easily, so watch out when you remove the unit from the mount.
-PC USB cable for transferring files between PC-Unit.
-DVD (NOT CD) maps and programs to restore maps to your units. You must have a DVD drive in your computer to use it.
* The headphone/audio output jack is 2.5mm and they don’t give you an adapter for 3.5mm.
The box has everything you need to operate the unit except you need to learn how to use the unit correctly and it’s not very user friendly like my last Garmin ique3600 or my brother’s nuvi360.
MAIN MENU
Push the little chrome power button on the top of the unit, the unit boots up with a main menu.
MIOMAP:
Mio C520 uses TeleAtlas maps which is not as good as Garmin’s. It couldn’t recognize a few Condos or apartments addresses. The Sirf III receiver is very sensitive and tracks satellites quickly even in door which is much better than my old IQUE3600.
I do recommend the website for getting information and downloads: //www.gpspassion.com/forumsen/forum.asp?FORUM_ID=37
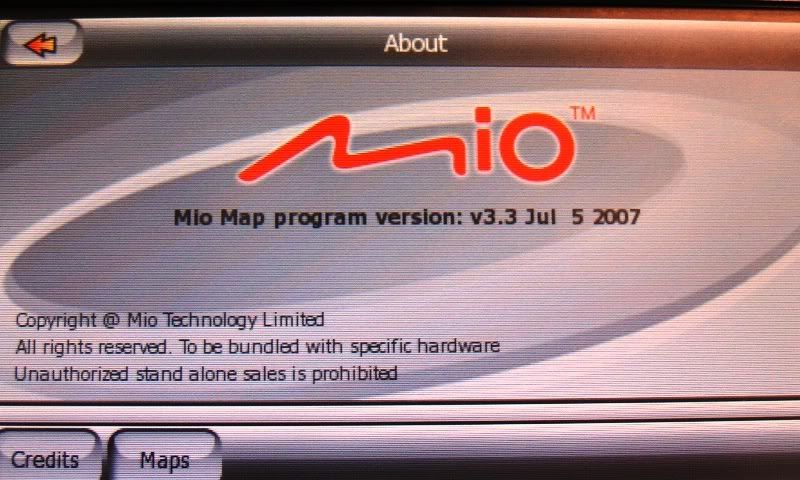
– Download MioMap-V3-Updater-C320-C520.msi from Belgium : //www.mio-tech.be/Downloads/MioMap-V3-Updater-C320-C520.msi
This update will add a “mute button” on the cockpit and the version of July 5, 2007 instead of May 18 2007.
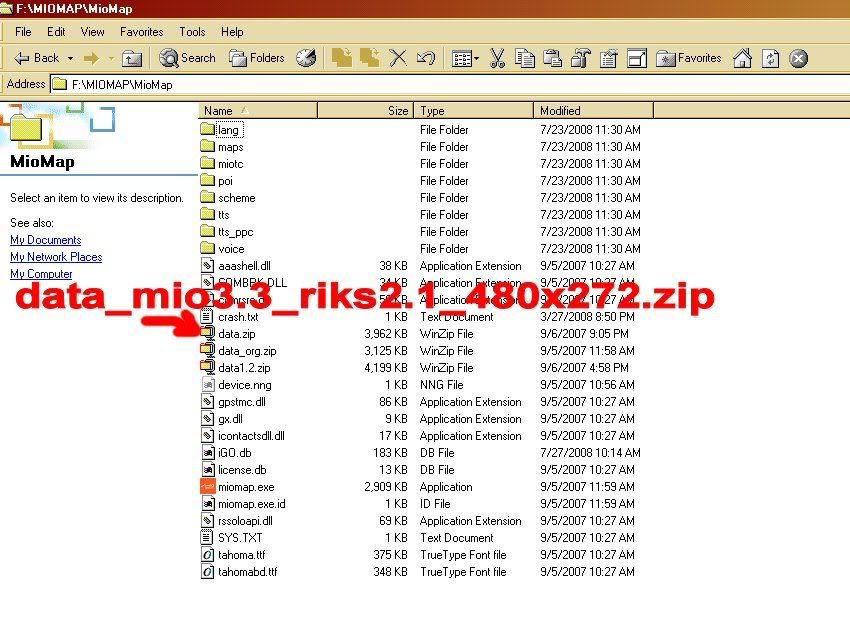
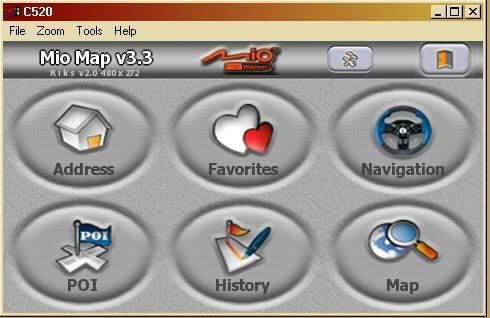
Also download the skin data_mio3.3_Riks2.1_480x272.zip From this website which works very well. I didn’t upgrade to the newer version.
To install riks2.1, just rename the data.zip in the miomap folder to data_org.zip and rename data_mio3.3_riks2.1_480x272.zip to data.zip and reboot.
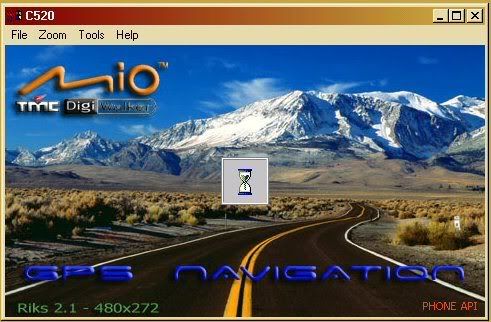
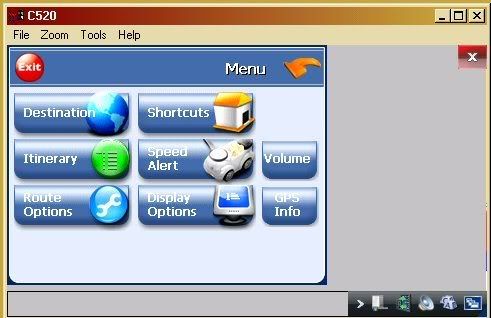
When you select miomap it should look like this
You can download the manual for device and mapping here.
Unlocking the mio C520 using miopocket2.0 rev 24, you can download it from here or read about it here.
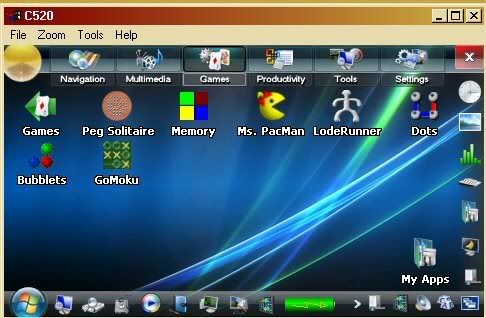
The Miopocket2.0 rev 24 is great but it still has some bugs, especially with the touch screen. I like to have those games so I can play and especially using it for the Iguidance 3.0 Navteq maps which is much better than the Mio Tele Atlas map.
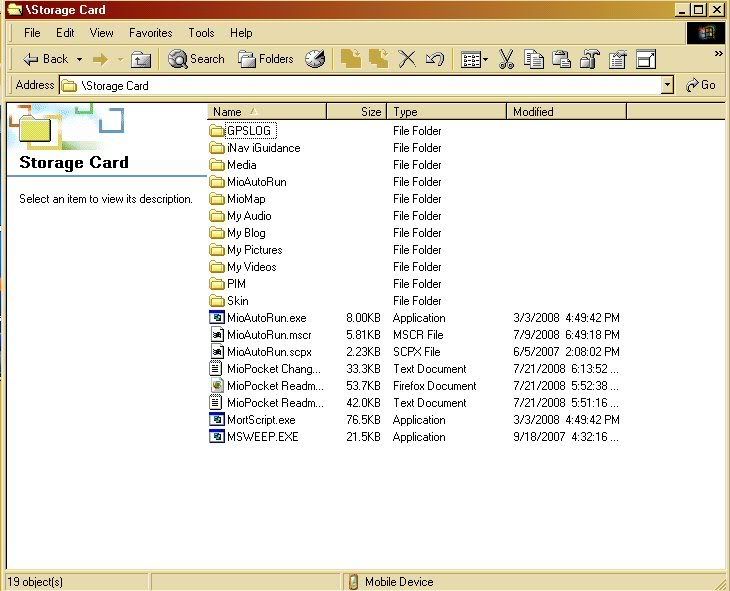
As the readme.html recommended, use an SD card to try out first, copy the whole directory of miopocket2.0-24 to the root of SD card. If you have the miomap on the flash card, then delete the miomap folder in the storage card folder so you won’t get confused during miopocket installation. If you plan to use iNav iGuidance mapping then copy the whole directory to the SD also.
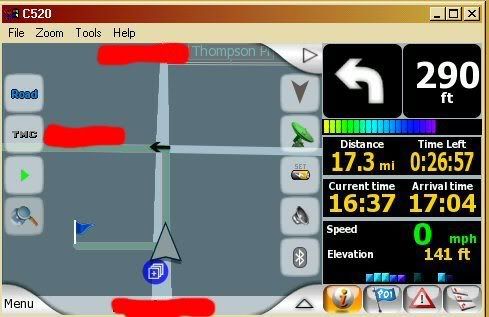
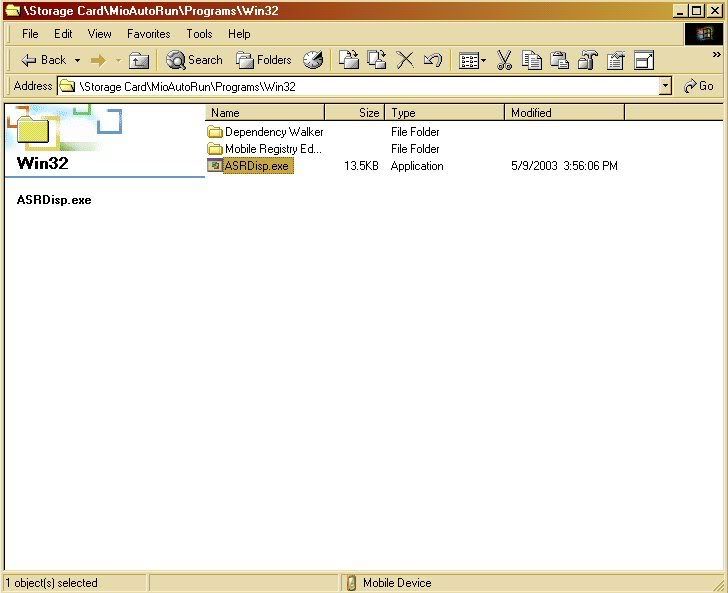
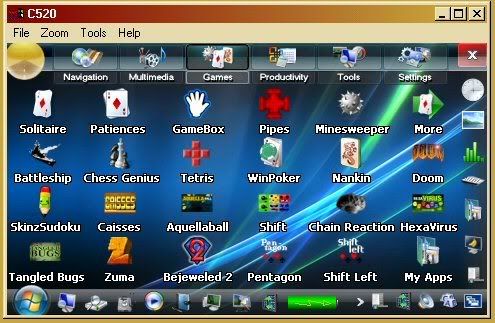
Follow the instruction on the readme.htm of the miopocket2.0 you will see this after it’s done installing. Make sure you use the MS ActiveSync so you can use the ASRDisp.exe which you can control the C520 from the desktop/laptop and take screen pictures.
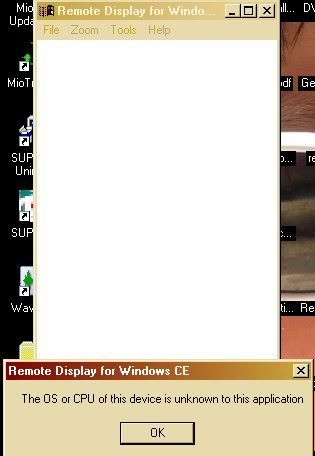
When you execute the ASRDisp.exe, you will see the error, ignore it and continue. Use the mouse to navigate and execute programs.
All the games need to be registered for the full versions.
Miopocket mapping:
When you navigate through miopocket2.0, the touch screen buttons in the background can interfere with some of the buttons on miomap which is very anoying. If I’m going to use miomap, I hard reset and get back to miomap ORIGINAL. First SHUTDOWN then Hold the power button for a few second to reboot the system, then the original MIO will come back, but as long as the SD card is still in the slot, everytime you SOFT reset, it will boot from MIOPOCKET. Using Miopocket will drain your battery faster than the original mio because it’s has tons of graphics. If I don’t play games or use iNav iGuidance mapping, I prefer using the original mio to watch movies or listening to music (last longer). The good thing about the MIOPOCKET, you can amplify the output sound since Mio output is very low.
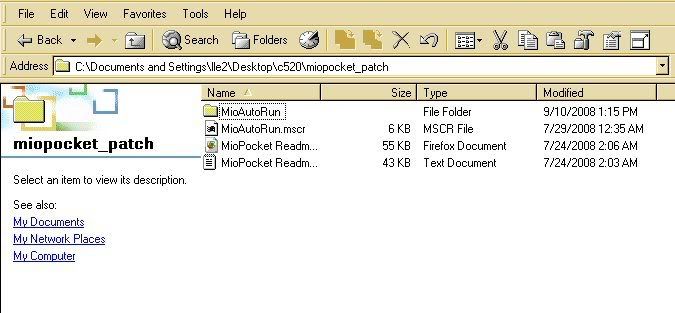
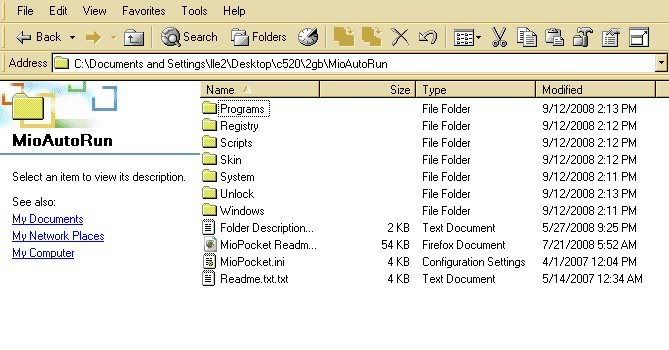
Osprey came out with a patch to fix the display problem as above. I got the patch, unzip it and it looks like this
Copy MioAutoRun.mscr over the old one in the root folder of the 4GB SDCARD
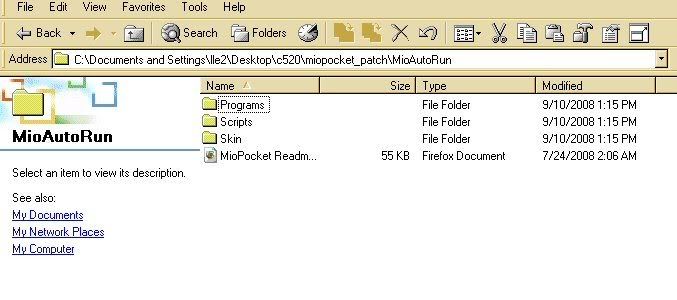
Expand the MioAutorun of the Patch Folder
Select all and copy over the expanded MioAutorun of the SDCARD folder: Notice there are more folders and files in the original MioAutorun Folder, that’s why we don’t want to just copy the Patch’s MioAutoRun folder over the original one.
This patch fixed the display problem and some other ones. Osprey now has the 2.0 version 27 out, I have not tried it yet since the 24 works fine for me.
HOW TO TOGGLE BETWEEN POCKET PC & MIO C520:
***** You must load the pocketpc to external SD card.
HARD RESET:
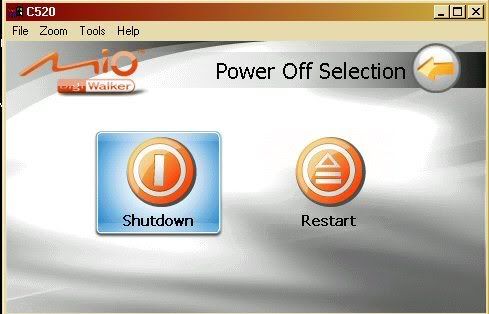
***** When you click the X to shutdown, it’s a hard reset or hold the power button for a few seconds (4-5)
Or you can use software hard reset in pocketpc
This will reboot the MIO back to the original operating system and you can use it normally.
TO GO BACK TO POCKETPC FROM ORIGINAL MIO OPERATING SYSTEM, do the SOFT RESET
**** From the original MIO operating system (with pocketpc in the SD card inserted), push the power button once lightly, the screen will be off, then push it again lightly, then the pocketpc will start booting into Window CE.******
TO GO FROM POCKETPC to ORGININAL MIO OPERATING SYSTEM, do the HARD RESET.
***** Click the X to close window CE then choose the Hard Reset or Shutdown completely and restart.
to restart, hold the power button down until the green led light, then the blue LED light is on then release the button (a few seconds)
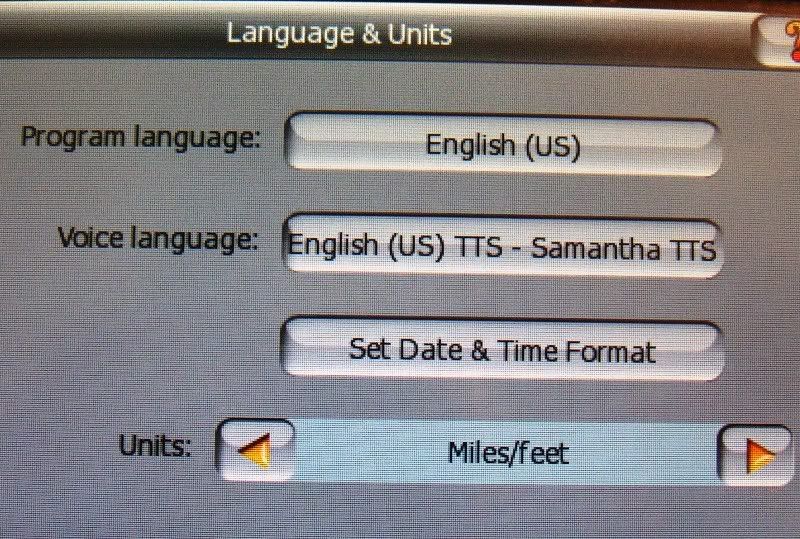
Language: For Text to Speech to work, you have to choose Samantha TTS (she’ll tell you the name of the streets).
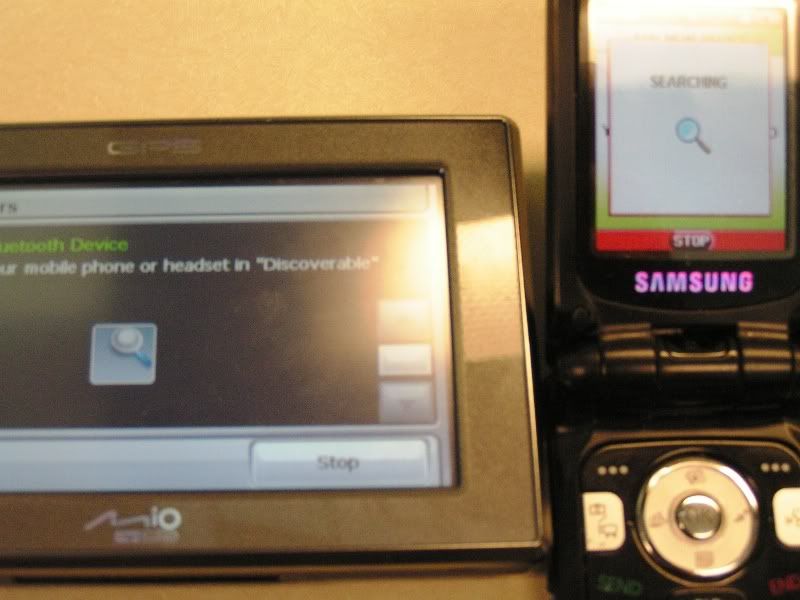
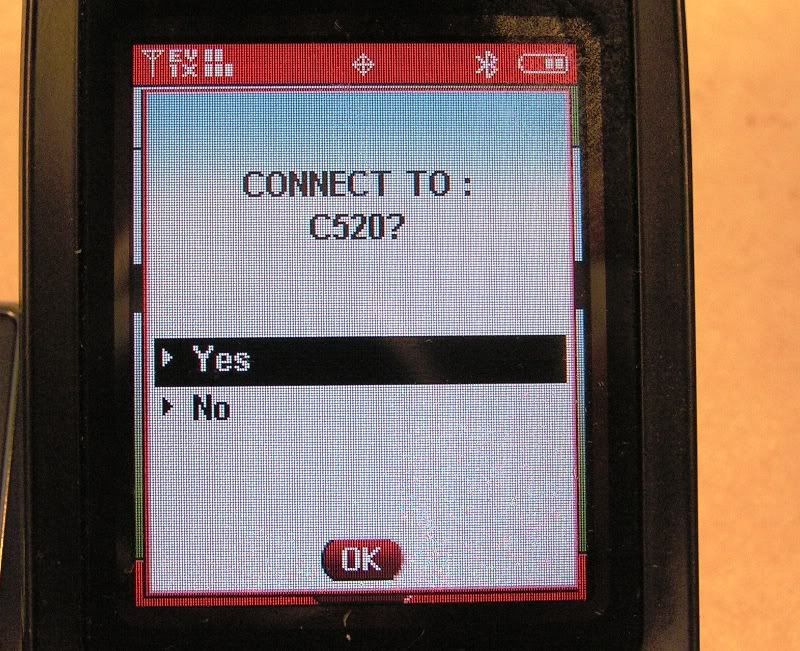
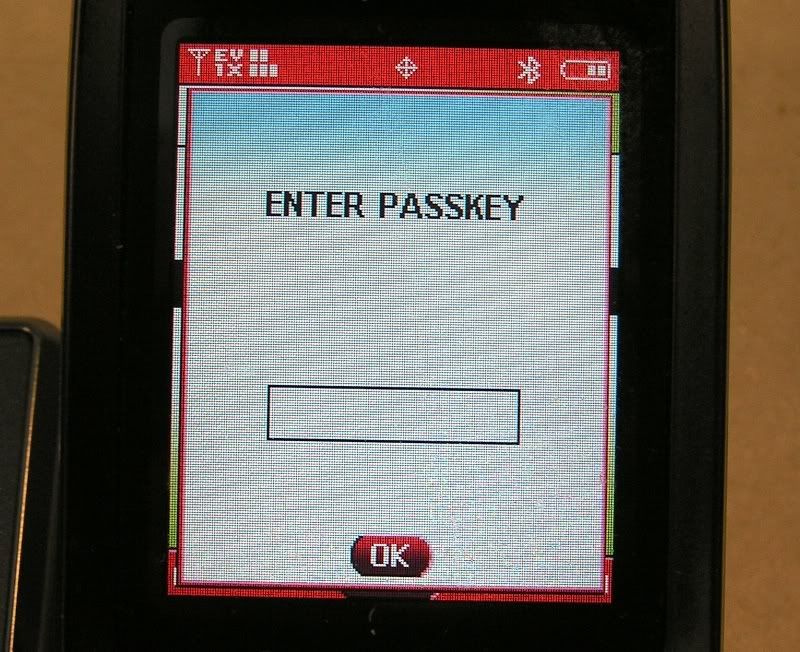
BLUETOOTH PAIRING:
The reason I got the MIOC520 because it has the handfree-bluetooth capability which works great with my phone.
**** Click on bluetooth icon
**** Put your phone next to the C520 and turn on recovery mode***
1-2-3-4 or 0-0-0-0 for PASSKEY
If your phone is supported, it’s very easy. If not, try different phone.
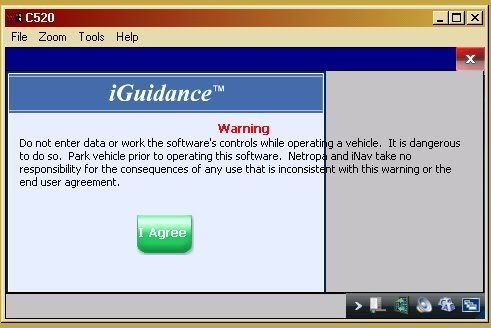
Installing iNav iGuidance 3.0 on Mio C520.
-Copy the iNav iGuidance folder to the SD card. Make sure you have 4 of the special DLLs files for it to work. You can find them on the net or download it from here.
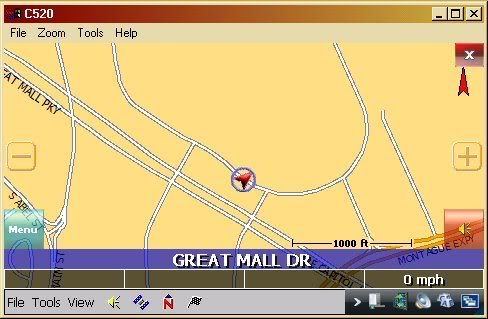
Click iNav iGuidance icon on the MioPocket Navigation screen.
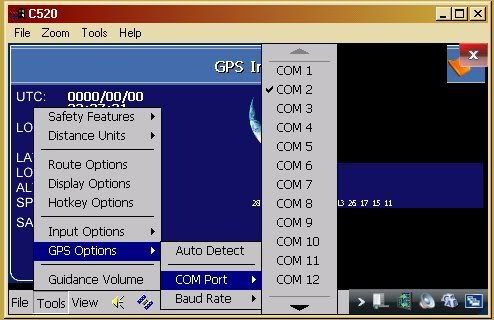
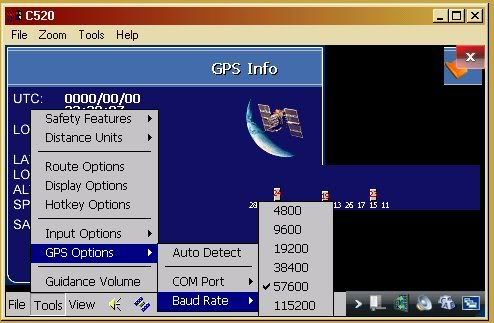
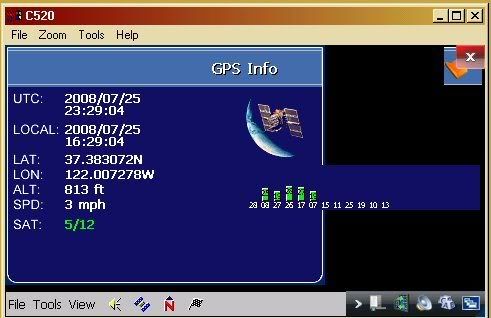
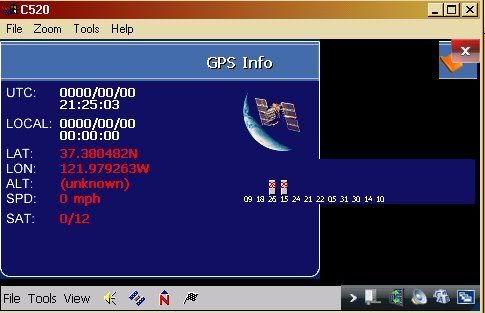
Click Tools–>GSP options–>COM port 2 — Baud Rate 57600
iNav iGuidance is not good looking, but it’s extremely functional. Its POI is so bad compared to Mio but it does tell which side of the road the destination will be. It’s more accurate than the miomap. Navteq is the map that Garmin uses which is more superior than Tele Atlas that Mio uses.
Installing iNav iGuidance 4.0 on MIO C520
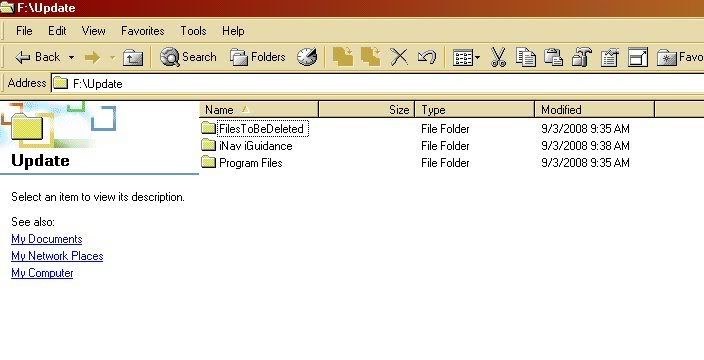
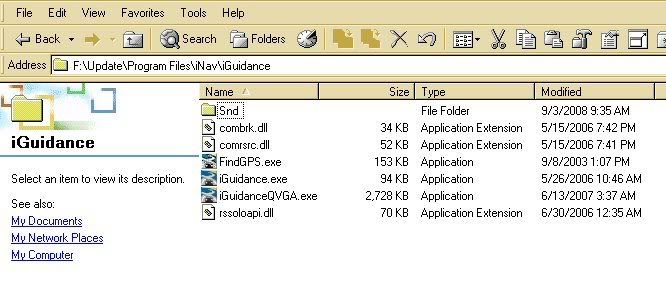
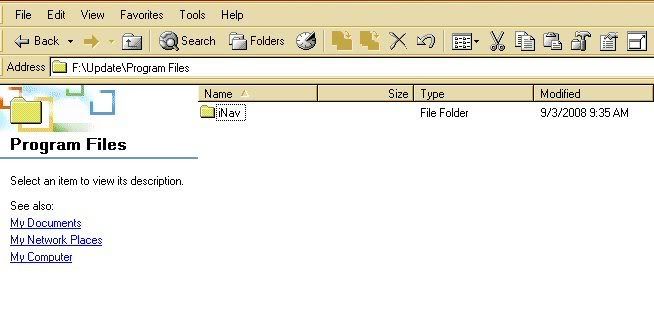
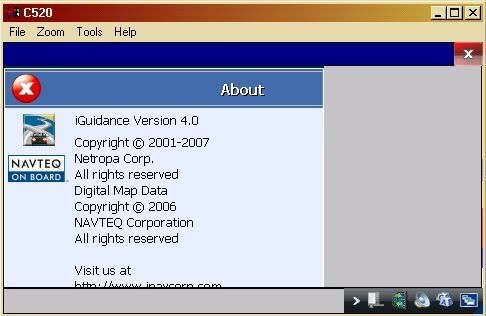
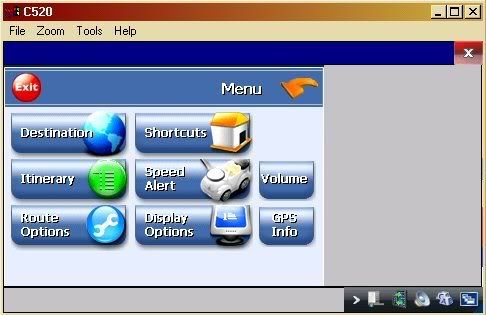
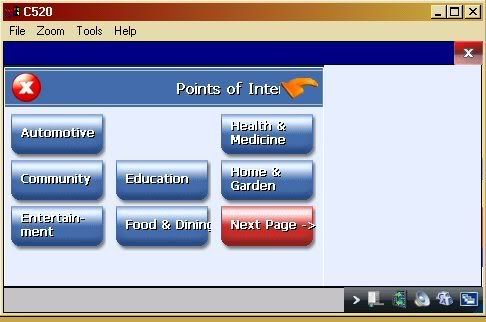
I got the update files for the iGuidance 4.0, the installation is quite simple, just copy all the folders to the SDcard and it works. The 4.0 version has more POI although it’s not as complete as the POI on the original C520 MAP, but it does have text to speech with Samantha voice.
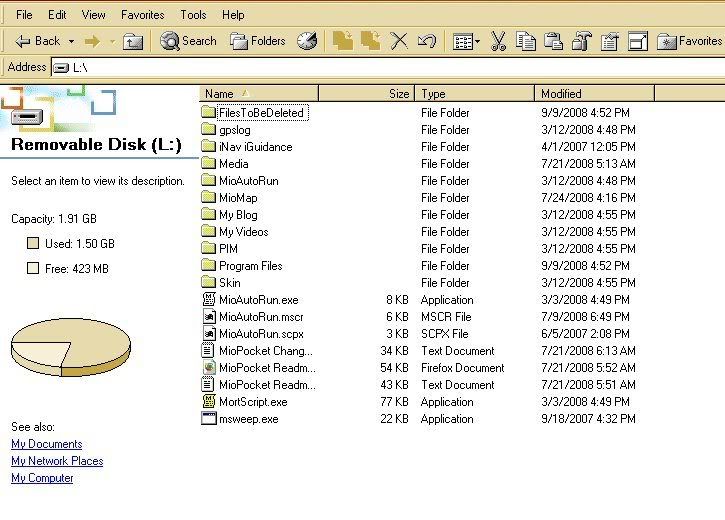
This is the content of my SDCARD
I was expecting the POI would be better, but I think the maps were in 2006-07, therefore, a few new stores were not in it, but it beat the Version 3 POI. Anyhow, with text to speech is great.
MAKING MP4 VIDEO TO PLAY ON C520
The best program to make MP4 video for C520 is HANDBRAKE and it’s free… It’s much better than the one that comes with the package. I rather use Handbrake or Super.
//handbrake.fr/?article=download
//www.erightsoft.com/SUPER.html
This is the procedure to make mp4 for HANDBRAKE PROGRAM.
-Rip the dvd to hard drive.
-Launch the program (need .net installed in window XP, 2.0 is minimum) //www.microsoft.com/downloads/details.aspx?FamilyID=0856EACB-4362-4B0D-8EDD-AAB15C5E04F5&displaylang=en
– Choose the VIDEO_TS folder that you want to make movie from
– Choose the Output file name and location. Make sure the name has the correct extension “name.mp4”.
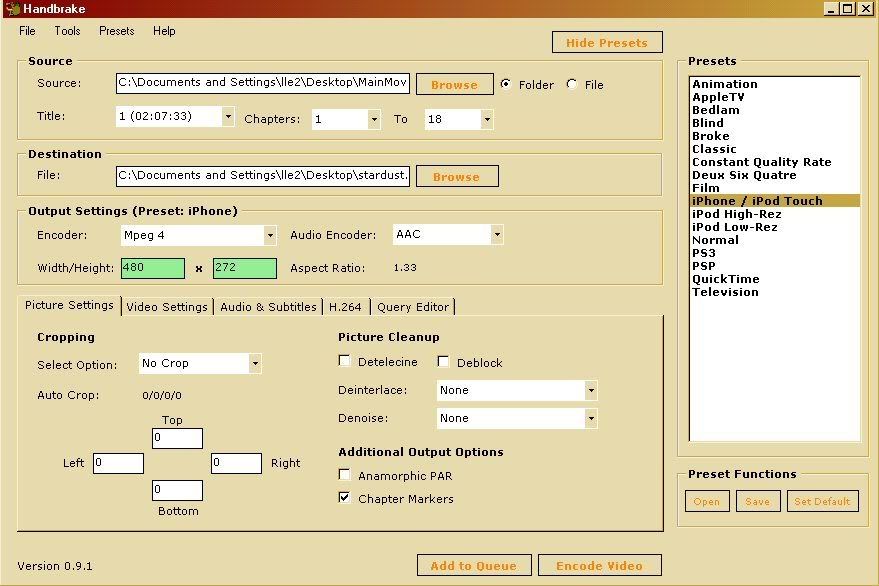
– Select presets iphone/ipod touch.
– Screen size 480×272
– Click the title to choose the movie length & chapters & subtitle (if you leave “auto”, you can’t make subtitle onto the mp4)
– Choose encoder Mpeg4, if you leave it at default, the file will NOT play in C520.
– Leave Picture Setting alone
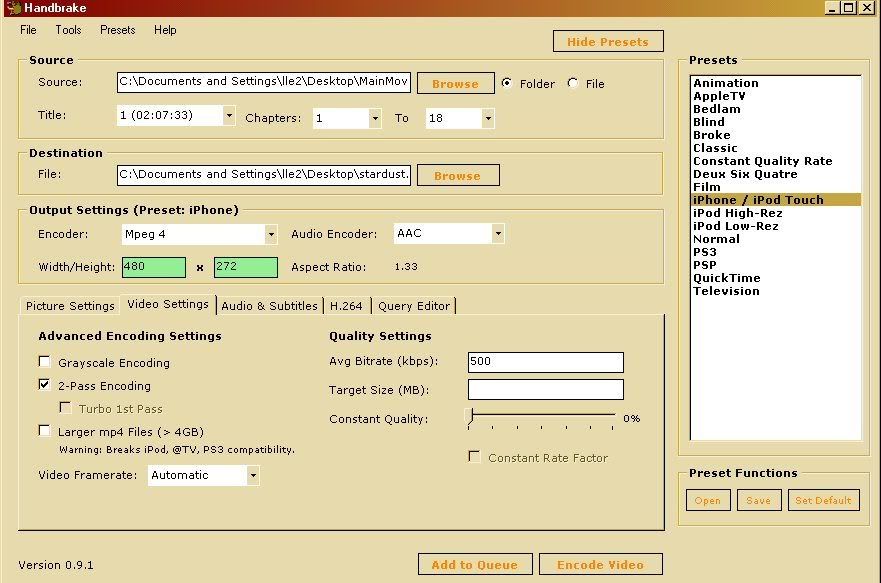
– Setup VIDEO as picture shown: 2 pass & bitrate = 500 is good enough, you can make it bigger if you want.
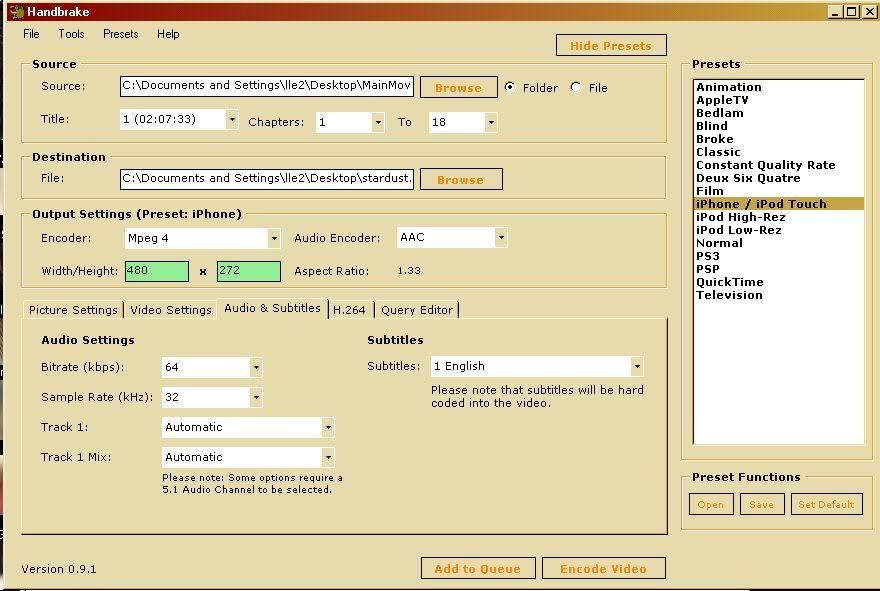
– If you want subtitle printed always on the screen, select subtitle and the list will come out, I choose English, the audio set @ 64 & 32khz is efficient. I like the subtitle because the audio output of C520 is very weak, sometimes you can’t even hear it with head phones on at loud places.
When the setup is done, just click encode video and wait. There will be a dos window pop-up and it will close itself when it’s done.
The file will be in name.m4v if you forgot to change the extension when you save the name, you have to rename the extension to name.mp4 to be able to play in C520.
Cheers,
- Costco Night Owl CAM-AHD10-8 1080P Home Security Camera System
- How To Connect Half Mini Pcie Wifi – Bluetooth Combo Card to Desktop PCI-E Slot
- Set Up AirPrint Brother MFC-J485DW On Windows, Mac OS X and iOS
- El Capitan 10.11.5 Drops Old Printers Drivers
- How To Set Up An Inexpensive Hi-Fi Home Karaoke System















1 Comment
Hello! I know this is kinda off topic but I was
wondering if you knew where I could get a captcha plugin for my comment form?
I’m using the same blog platform as yours and I’m having trouble finding one?
Thanks a lot!
Here is my webpage: Search phrase leads