
It’s starting to cost more to store pictures and videos from our phones to the cloud. I decided to buy a Raspberry Pi 4 with 2GB to create my own NAS since the hard drives are inexpensive these days. Buy from Amazon . Not sure if I need . .
I tried on the RPI3 and it works, but transfer rate is quite slow. Will continue when I got my RPi4.
The procedure to turn the RPi3 to NAS:
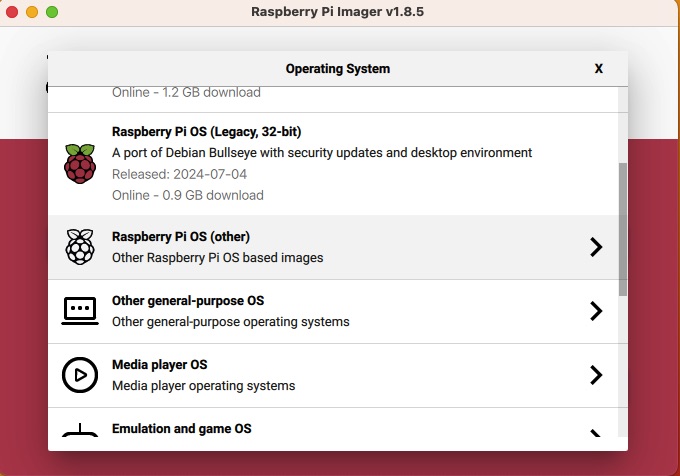
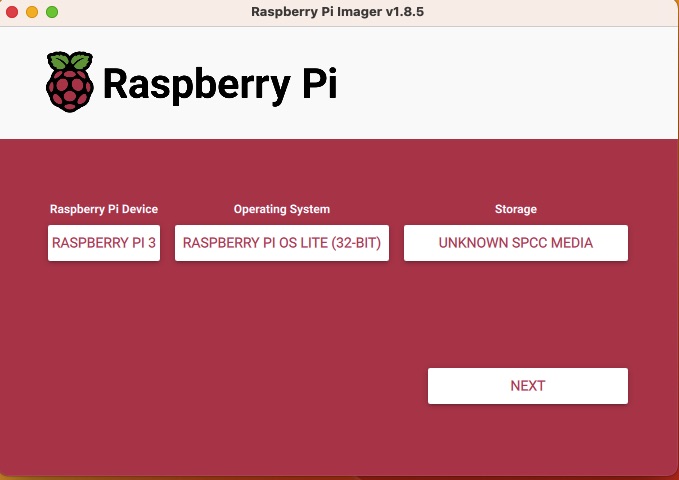
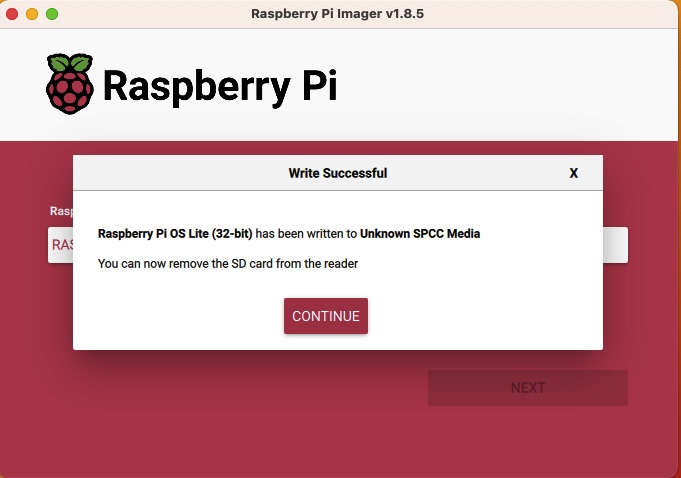
1. Create mircoSD PI OS 32 Bit, either use desktop version or lite version but must be 32 bit. Download RPi Imager to install microSD, either 16GB or 32GB. On the setup, setup the name of the rpi, the username instead of default pi, password, wifi ssid and password so it automatically connect to the wifi at home when it’s booted up. The 32bit OS Lite is in the other OS folder if you want to select this one.

2. Take the microSD with pi OS, insert to RPi3 and power it up. Wait for a few minutes to connect to the wifi at home, I used Ethernet cable connected to the router for faster speed.