
[bs]
[mybs data=”1″ title=”How to downgrade firmware from V4 to V3″]
Warning: The problem will be trying to authenticate and fail. Need to Hard Reset the unit – unplug – use a paperclip push the reset button – plug the power back – keep holding the button for 40 seconds. This will reset the unit and we can re-install the software. Do NOT upgrade to V4 automatically. Turn it off so you don’t have to downgrade.
-
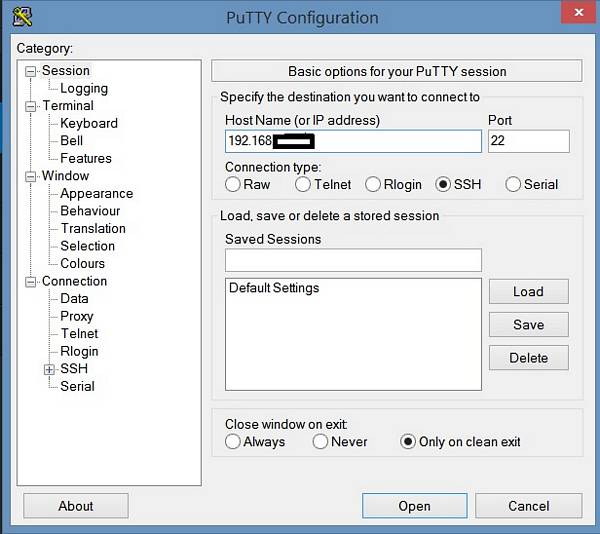
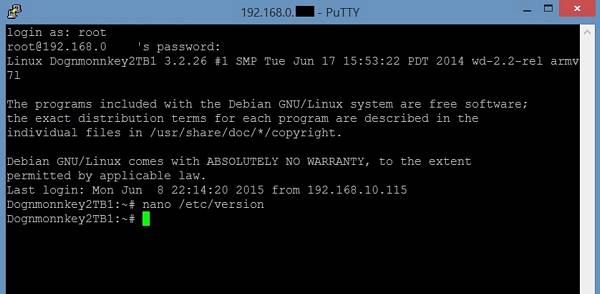
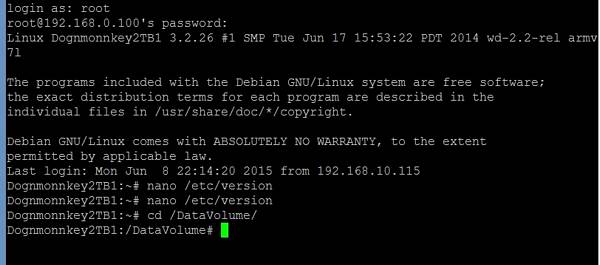
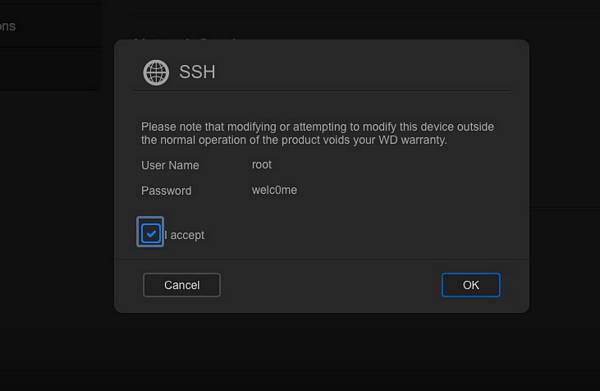
- Putty login to SSH
-
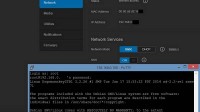
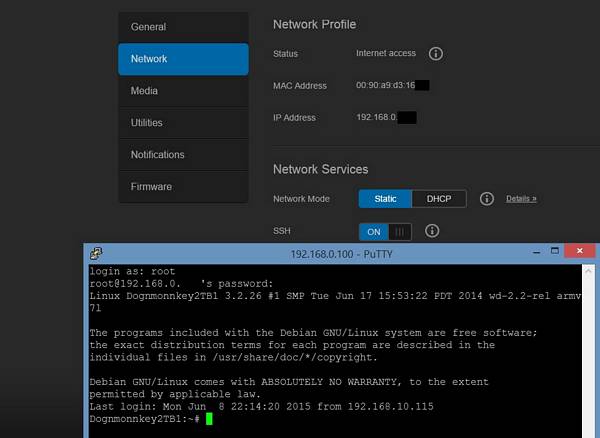
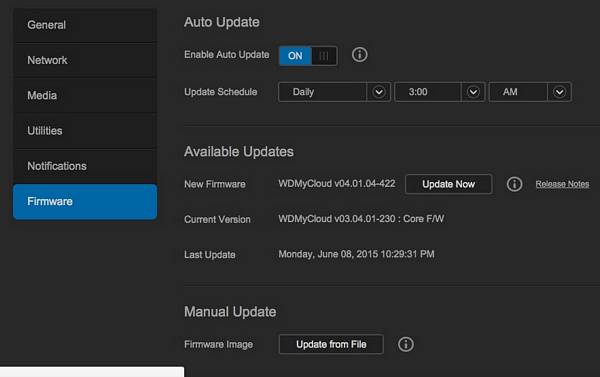
- Turn on SSH
-
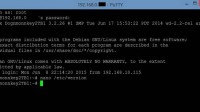
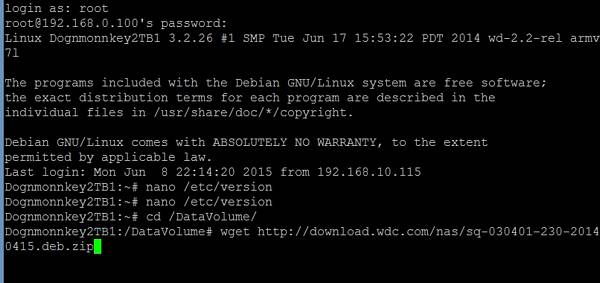
- Check for version
-
- current version 4

-
- change to version v3

-
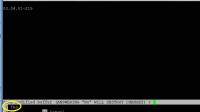
- Ctrl X to exit and save

-
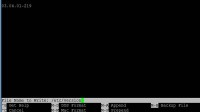
- Click Y to save

-
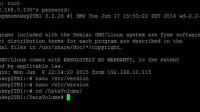
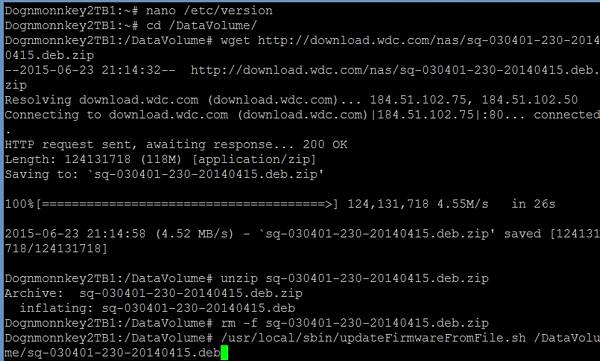
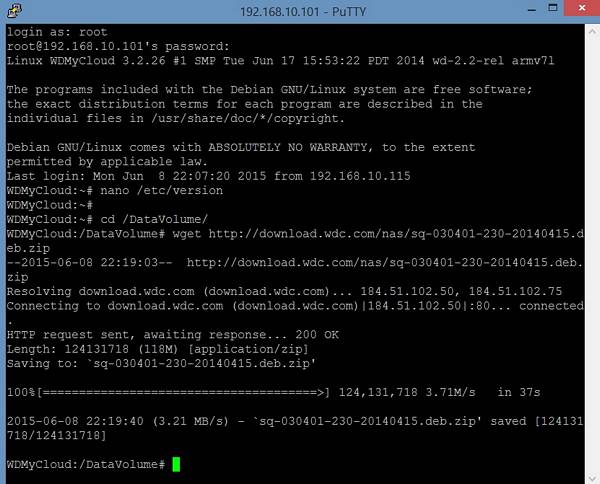
- Click enter to return cd to DataVolume
-
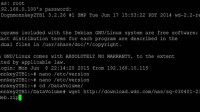
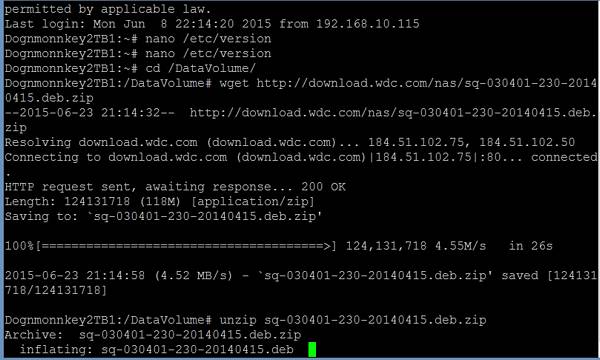
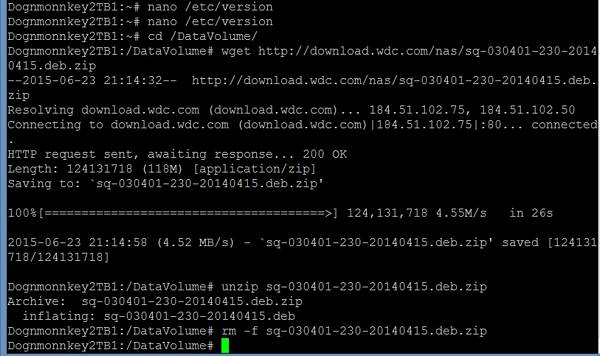
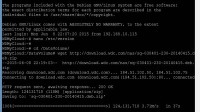
- Wget the v3 firmware from the website
-
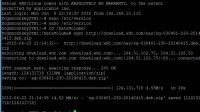
- downloaded

-
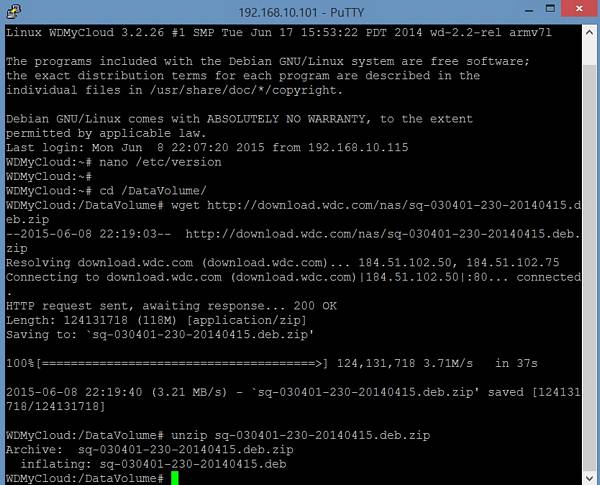
- Unzip the file
-
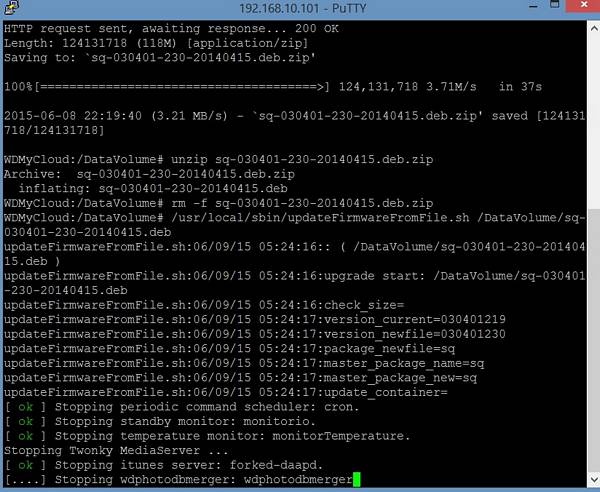
- remove the zip file
-
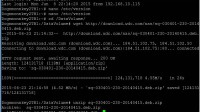
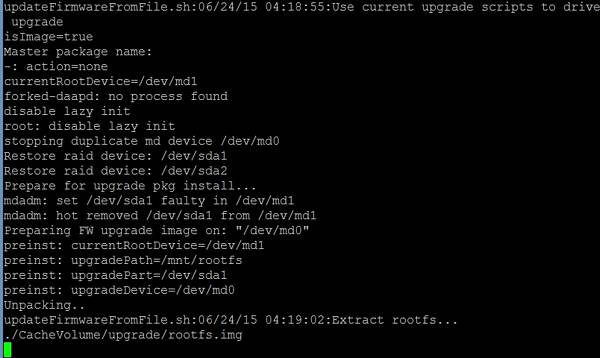
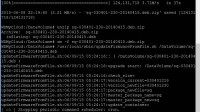
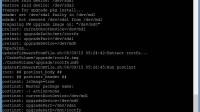
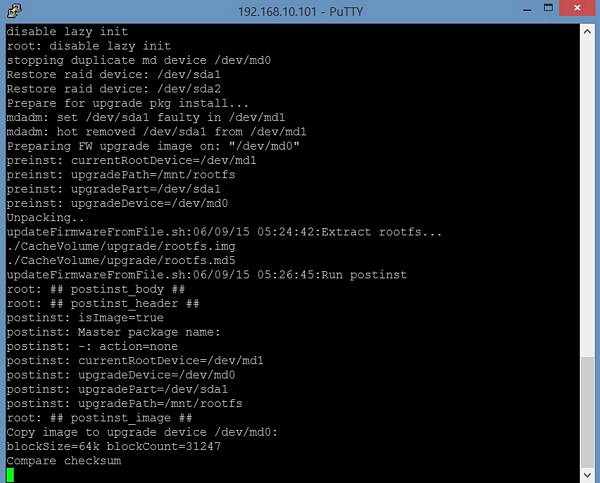
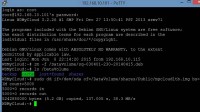
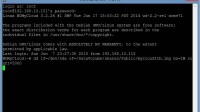
- restore the firmware to v3 command
-
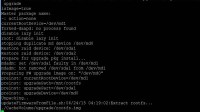
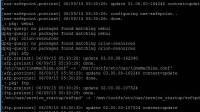
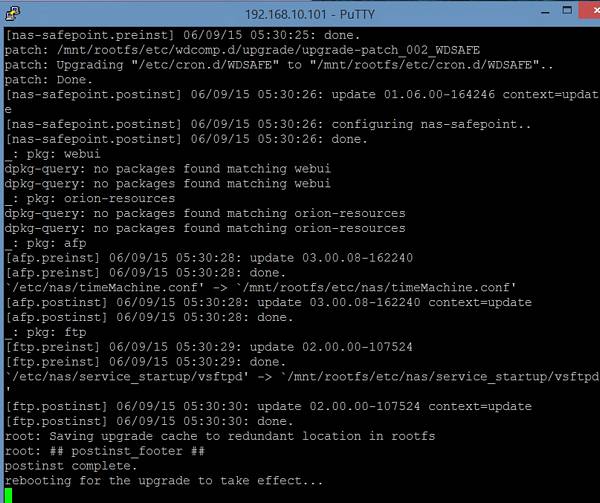
- progress
-
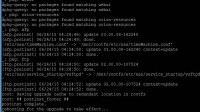
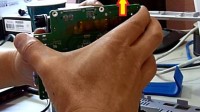
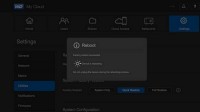
- final reboot – check the blue light

[/mybs]
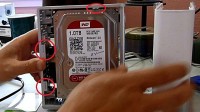
I bought my first cloud server WD My Cloud 1TB for $70 when it’s on sale. I knew that I would upgrade it to 2TB since I have a few in my HTPCs (now they’re obsoleted), although the device is brand new, but after reading the “how to unbrick…”, I decided to try it, the worst scenario is I would be out of $70. I do trust WD quality. For people who don’t have WD 2TB+ laying around, it’s cheaper and more efficient to buy units with 2TB-4TB, the price increments are actually very minimal. Don’t do this unless you have WD drive, NOT any other brand. I used the Samsung 2TB and it didn’t work, wasting a few nights trying.
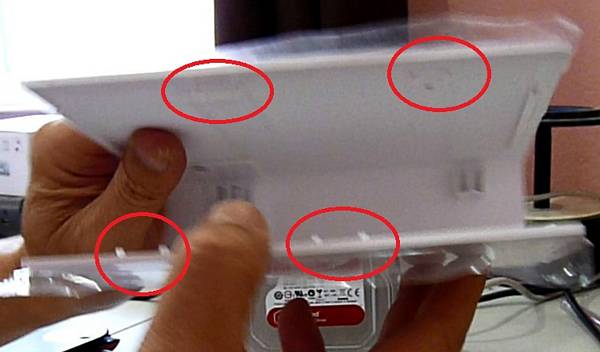
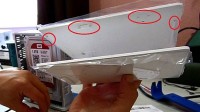
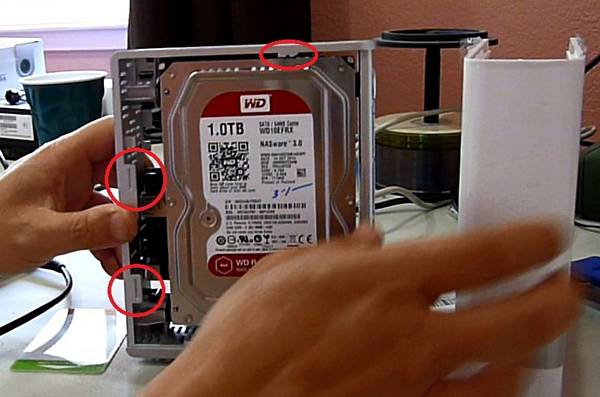
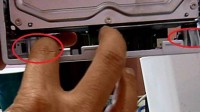
You need to remove the drive from the case. Regardless on how I read the how to on youtube, I still broke all the lock taps. If you do it carefully, you can still open without breaking anything. There are 4 lock taps and they’re not at the same heights, so look at the pictures, lift the tap and slide the case forward to remove, it’s tight but doable.
I removed one of the lock guides to remove the drive easier.
-
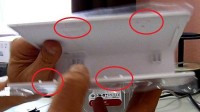
- 4 tabs need to pry open from the lock
-
- What the lock tab looks like
-
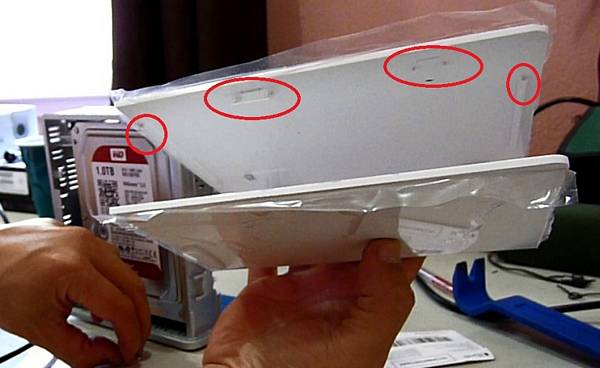
- These are where the lock tabs go
-
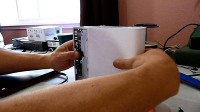
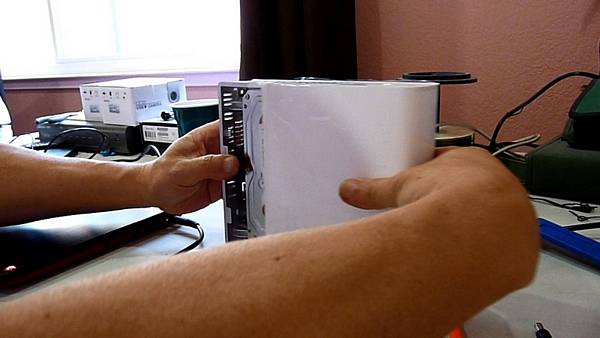
- Slide the case forward to remove the cover
-
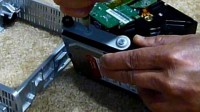
- push the lock guide out to slide the drive out

-

- tilt the drive and pull out lightly

-
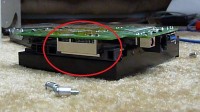
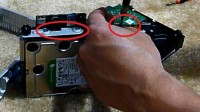
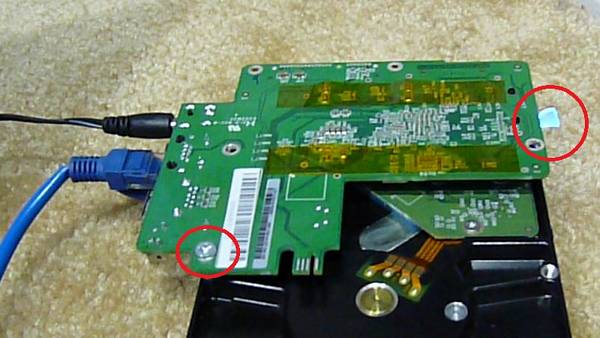
- This is how the board mated to the drive

-
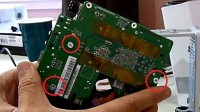
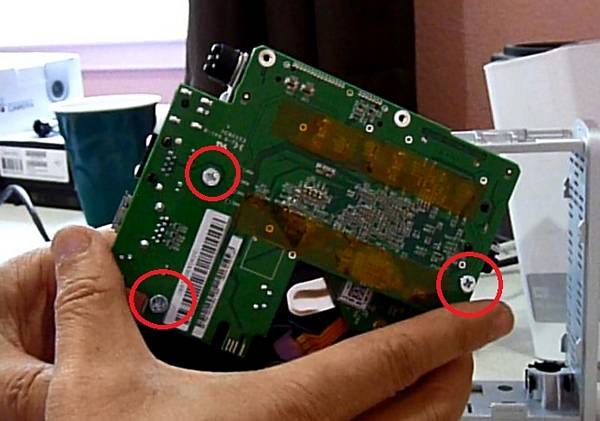
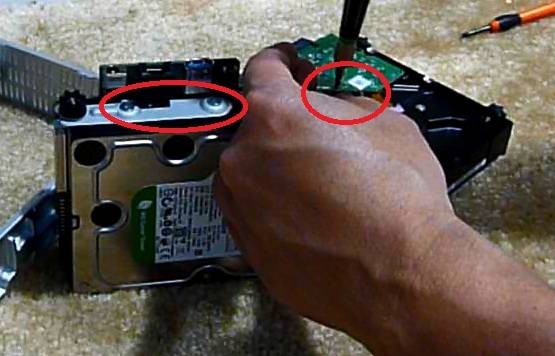
- 3 screws with stand offs need to be removed
-
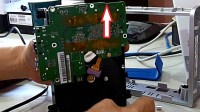
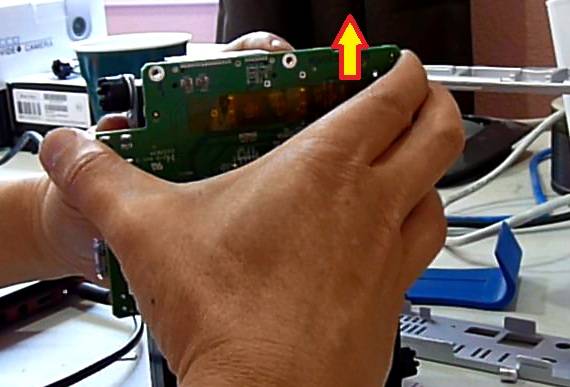
- Slide upward to remove the board from the drive

-
- Slide the board upward to separate from the drive
-
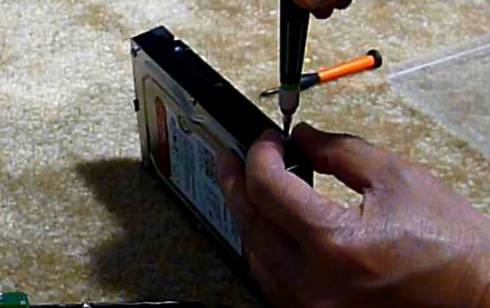
- Remove the brackets both sides

-
- Remove brackets from both sides
-

- single bracket
-

- Test the drive with 1 screw installed for stability
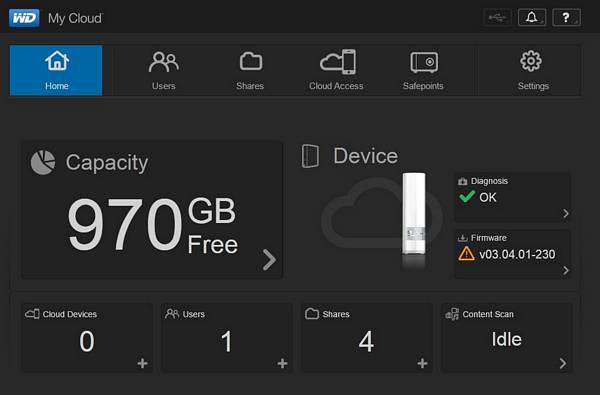
Now it’s the software part, the best is to create an image of the original drive. Original means no users, no data, nothing… I did the quick factory restored from the dashboard, make sure none of important data is on it.
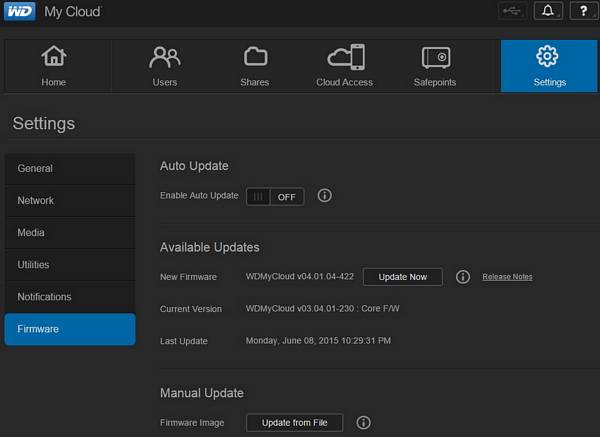
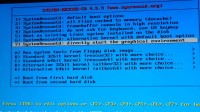
Reboot and login as admin, not creating any user. Turn on SSH. I reverted the firmware V4 back to V3 to make sure.
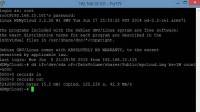
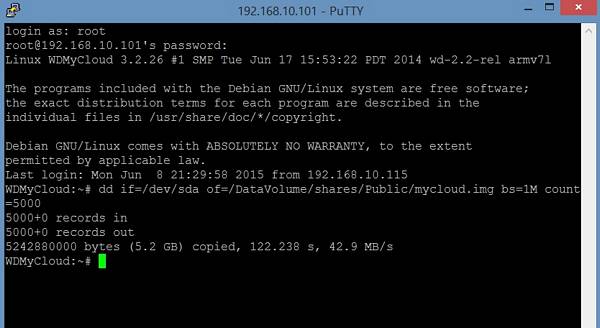
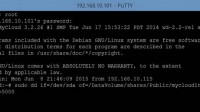
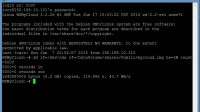
I used Windows 8, so I need to download Putty_exe_download.
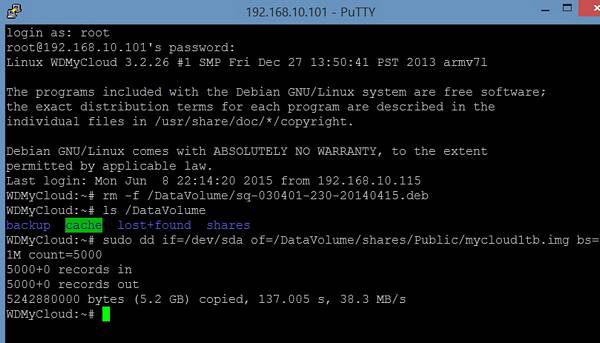
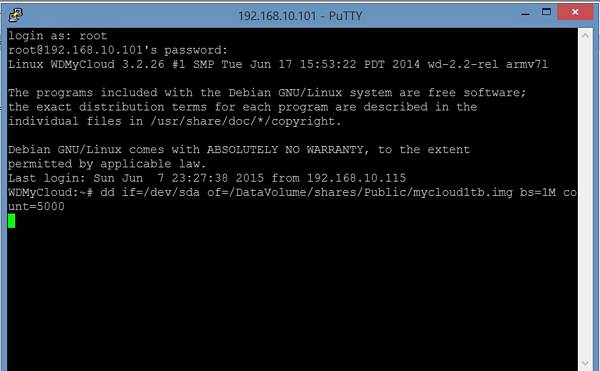
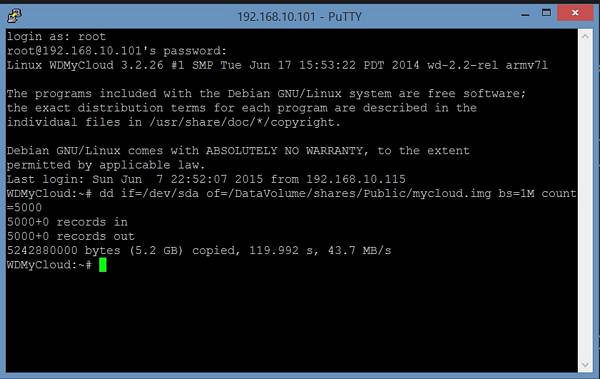
– Type in device ip address to connect – use user name=root and password=welc0me (zero not o).
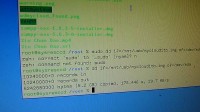
dd if=/dev/sda of=/DataVolume/shares/Public/mycloud1tb.img bs=1M count=5000
This will create an image “mycloud1tb.img” in the Public folder.
– Now copy the “mycloud1tb.img” to an 8GB USB flash drive if you don’t have a Mac and use PC to do the restoration.
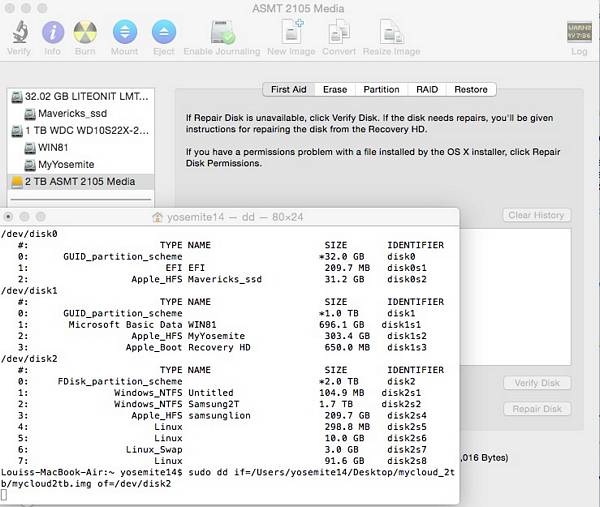
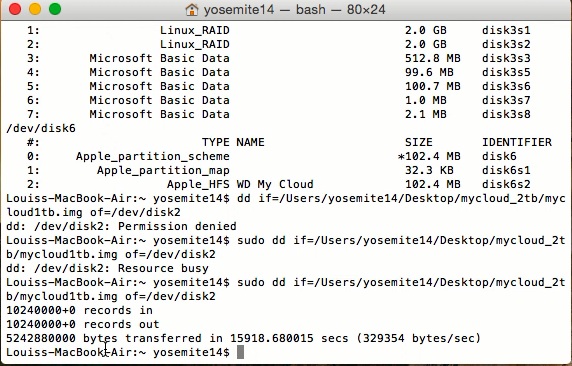
– The Mac OS X is more reliable, although it takes longer. I had 2 drives that failed after restoring using systemrescuecd and usb flash drive. They’re fine with Yosemite restoration.
– For the Mac, I use the USB external device to connect my 2TB hard drive for the commands in the terminal. It does take a lot longer to restore compare to the PC way which is less than 5 minutes.
sudo dd if=/mycloud1tb.img of=/dev/disk2
– When it’s done, need to use gparted to extend the EXT4 partition from 1TB to 2TB.
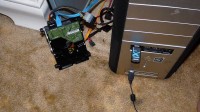
– Plug into the main-board and test to make sure everything works before putting it back in the case.
-

- Turn On SSH
-
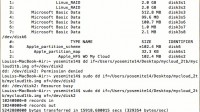
- diskutil list to check hard drive
-
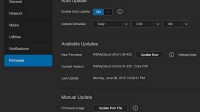
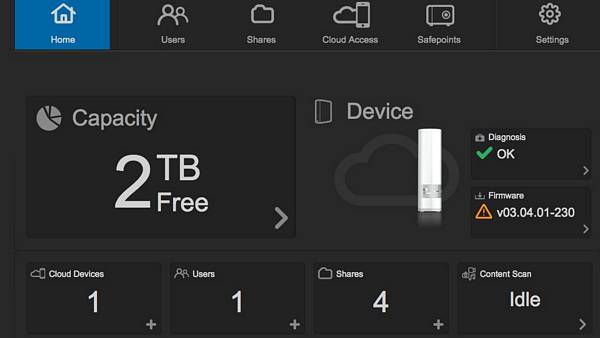
- Firmware version
-
- Quick Factory Restore

-

- 2TB done after EXT4 extended
-
- downgrade to V3
-

- downgrade to V3
-
- downgrade to V3
-
- Downgrade to V3
-
- downgrade to V3
-
- Firmware version
-
- after 1TB disk image restoration
-
- create disk image
-
- create disk image
-
- create disk image
-
- Create disk image using putty

-
- Create disk image
-

- Hook up to test and verify

-
- Restore image to hard drive using Mac Terminal
-
- PC set up to restore disk image

-
- Restore image to hard drive using PC

-
- restore image to hard drive using PC

-
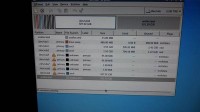
- gparted to extend EXT4 from 1TB to 2TB

-
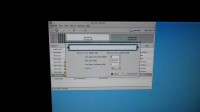
- Format and extend Gparted

-
- format and extend ext4 using gparted

How to put back the drive to the case when done.
- Fix WD MyCloud Server Connection After Upgraded To El Capitan 10.11
- TP-Link Archer C7 AC1750 Router Review
- How To Upgrade WD My Cloud From 1TB to 2TB Drive
- How To Set Up 1TB WD My Cloud
5 Comments
Please help! I cannot copy mycloud.img to my PC. I am using windows 11 now
Just follow the video instruction
Sorry, I didn’t mention it clearly. I am using My Cloud os 5 (5.20.113) and I am not able to execute below command line:
dd: can’t open ‘/DataVolume/shares/Public/mycloud1tb.img’: No such file or directory
Hi, thanks for good idea.
I did try to realize it but there is a one issue.
I place 8TB disk instead of 3 TB
SW see the same space as before – 3 tb
fdisk -l shows
Disk /dev/sda: 8001.6 GB, 8001563222016 bytes
But df -h shows on /dev/sda4
/dev/sda4 2.7T 202M 2.7T
seems that should be a solution…
you should be able to extend the partition to 8TB.